

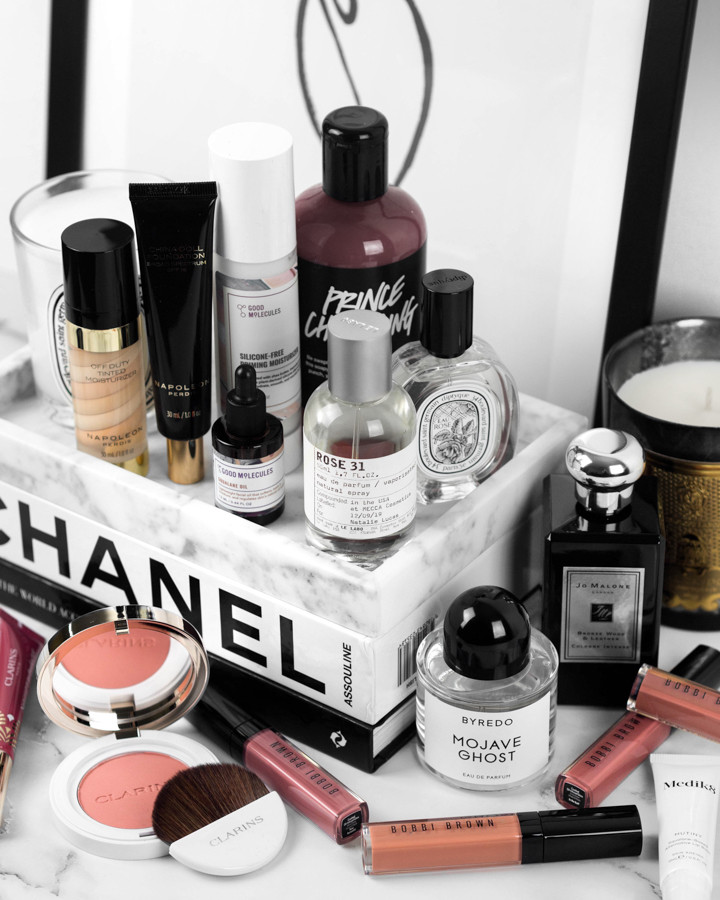
One of the most common questions I get asked in relation to my photos is how I edit my flatlays. Over the years I’ve found some ways of editing that work best for me, along with some amazing apps that I use all the time, and I wanted to put them all in a post for you!
Personally, I like to edit all of my flatlay photos a similar way, so this is my standard process process for editing.

The first step when I begin my editing process is to import the images into Lightroom. If I’m shooting flaylays for my general Instagram content and not client work, I shoot on my iPhone (11 Pro Max), so I use the Lightroom mobile app (which is free!) as then I can just keep everything on my phone. If I’m shooting for clients I shoot on my camera and use the desktop version. The feedback I got is that most of you want to edit on your phone so I wrote this post based on the mobile app version.
I make my own presets in Lightroom because it makes the editing process so much faster! You can download the preset I use for my flatlays here!
Once I’ve got the image open in Lightroom, I apply my preset as shown below. Not sure how to import a preset? Check out How to Install a Lightroom Mobile Preset.
As you can see the preset will do the bulk of the editing for me because I’ve already saved the settings I know I like. I’ll then adjust the contrast and exposure individually depending on the image, as a lot of images might be shot in different lighting. This is done by clicking on the Light tab.
The other setting I play with in Lightroom is the colour (click on Color, then click on Mix). Again, I’ve saved how I usually like mine to look but you can see the impact of changing these below. I don’t like a lot of blue or green in my flatlays so I will usually desaturate these but you can change these depending on how you want your images to look.
For most flatlays this is all I do, so I’ll then export the image. After I edit in Lightroom I usually want to make some adjustments to specific areas (such as darken or brighten specific spots only and not the whole image. I do this on the Snapseed app, which is such a great app for editing. I use the selective tool shown in the below video. You can see here I’m darkening the laptop screen to get rid of the reflection and also taking out some of the yellow on the flowers.
And that’s it! I hope you found this useful and that it helps you to edit your flatlays!
WANT THE LATEST FASHION, BEAUTY & TRAVEL POSTS STRAIGHT TO YOUR INBOX? JOIN THE MAILING LIST!

Start a Blog - Free 5 Day Course!
Are you wanting to know how to start a blog and make some extra money online? Join my free 5 day email course where I’ll walk you though step-by-step how to start a blog, the right way!